Superior Lip Placement
Current Chipping Practices
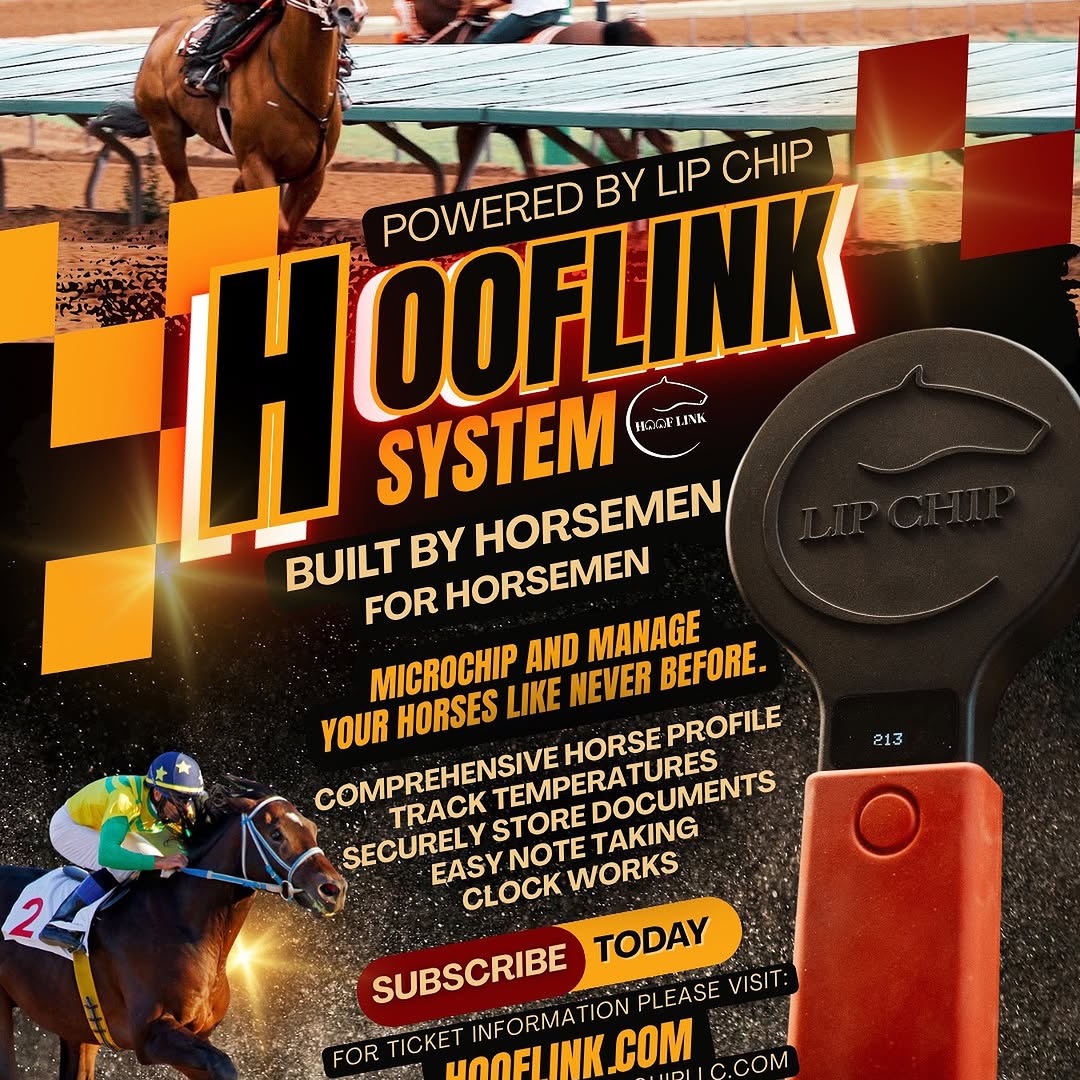
A New Way
Daily Tempature Tracking & More

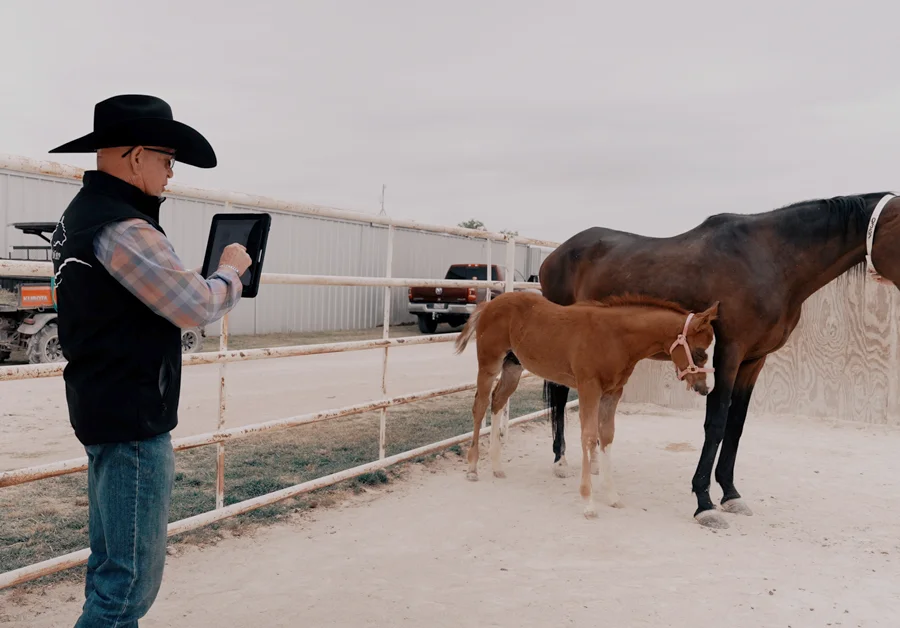
My name is Dr. Larry Findley. I have been an Equine Veterinarian for 45 years.
In Louisiana, for more than the past 15 years, we have had to microchip a Louisiana resident’s horse before we could run a coggins test. We used the cheapest chip possible until Lip Chip came out with the state-of-the-art IOS compliant microchip. For the past couple of years, everything that we chip gets the Lip Chip. The chip can be put in the lip, which to me is easiest, or the nuchal ligament of the neck. This chip has been designated as the standard forchipping AQHA racing horses.

I believe that the upper mandible implant of microchips in horses is by far the preferred site over the traditional nuchal ligament site because of the ease of implantation and reading along with almost no chance of migration. As an indication of being very open minded and breaking from tradition, Lip Chip founders became huge advocates of the upper mandible implant. Then, true to their ground breaking attitude, Lip Chip proceeded to develop cutting edge technology in their microchips and readers, connected to a comprehensive data base, to become an industry leader in easy, rapid identification of horses with direct access to the data base.